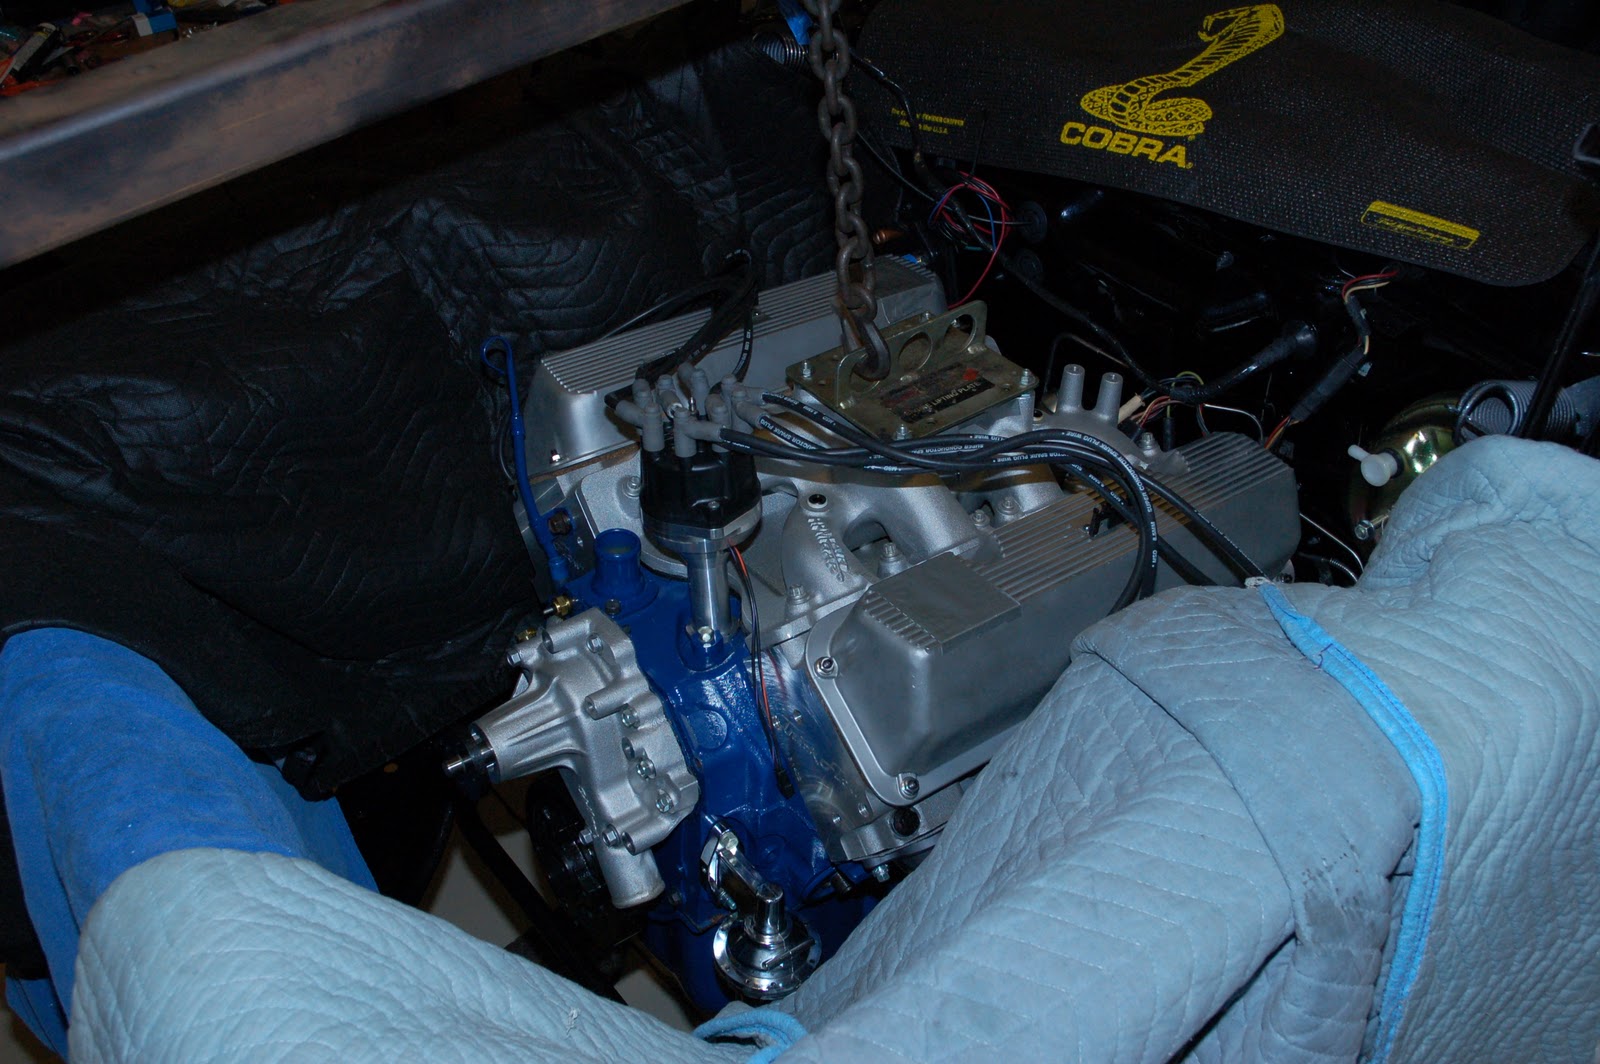
Installed a Lentech Street Bruiser AOD. This was a big-long step with the usual complications of updating a major component.


Starting out, we left the RMP mounts and FPA headers loose - this allowed us to wiggle the AOD in from underneath and get the bell housing bolted up. Next came the mount and cross-member installation and some issues.
I tried three different cross-members before finding one that fit the car. The Summit 'brand' cross-member worked with some minor modifications that allowed us to shift the transmission to the right so the headers could clear Borgensen's Steering Box. We also had to slightly curl the rear edge of the pan to clear the cross-member.
 |
| Steering box clearance |
After securing the cross-member we tightened up everything and ended up with about a 3/16 gap between the headers and the lower part of the steering box. We achieved this with a 3/8 inch offset to the right on the engine and about a 1/2 inch offset to the right on the transmission.
Other Notes: longer bell housing bolts are required, FPA Headers are awesome - a shift in cylinder #7's tube would allow us Cleveland types to clear the Borgensen box without hacking on the transmission mount, RMP mounts worked great, don't get your cross-member from Ebay and don't buy the one made by JBA - they don't fit.
Parts: Lentech AOD and torque converter, Summit cross-member, mount from NPD


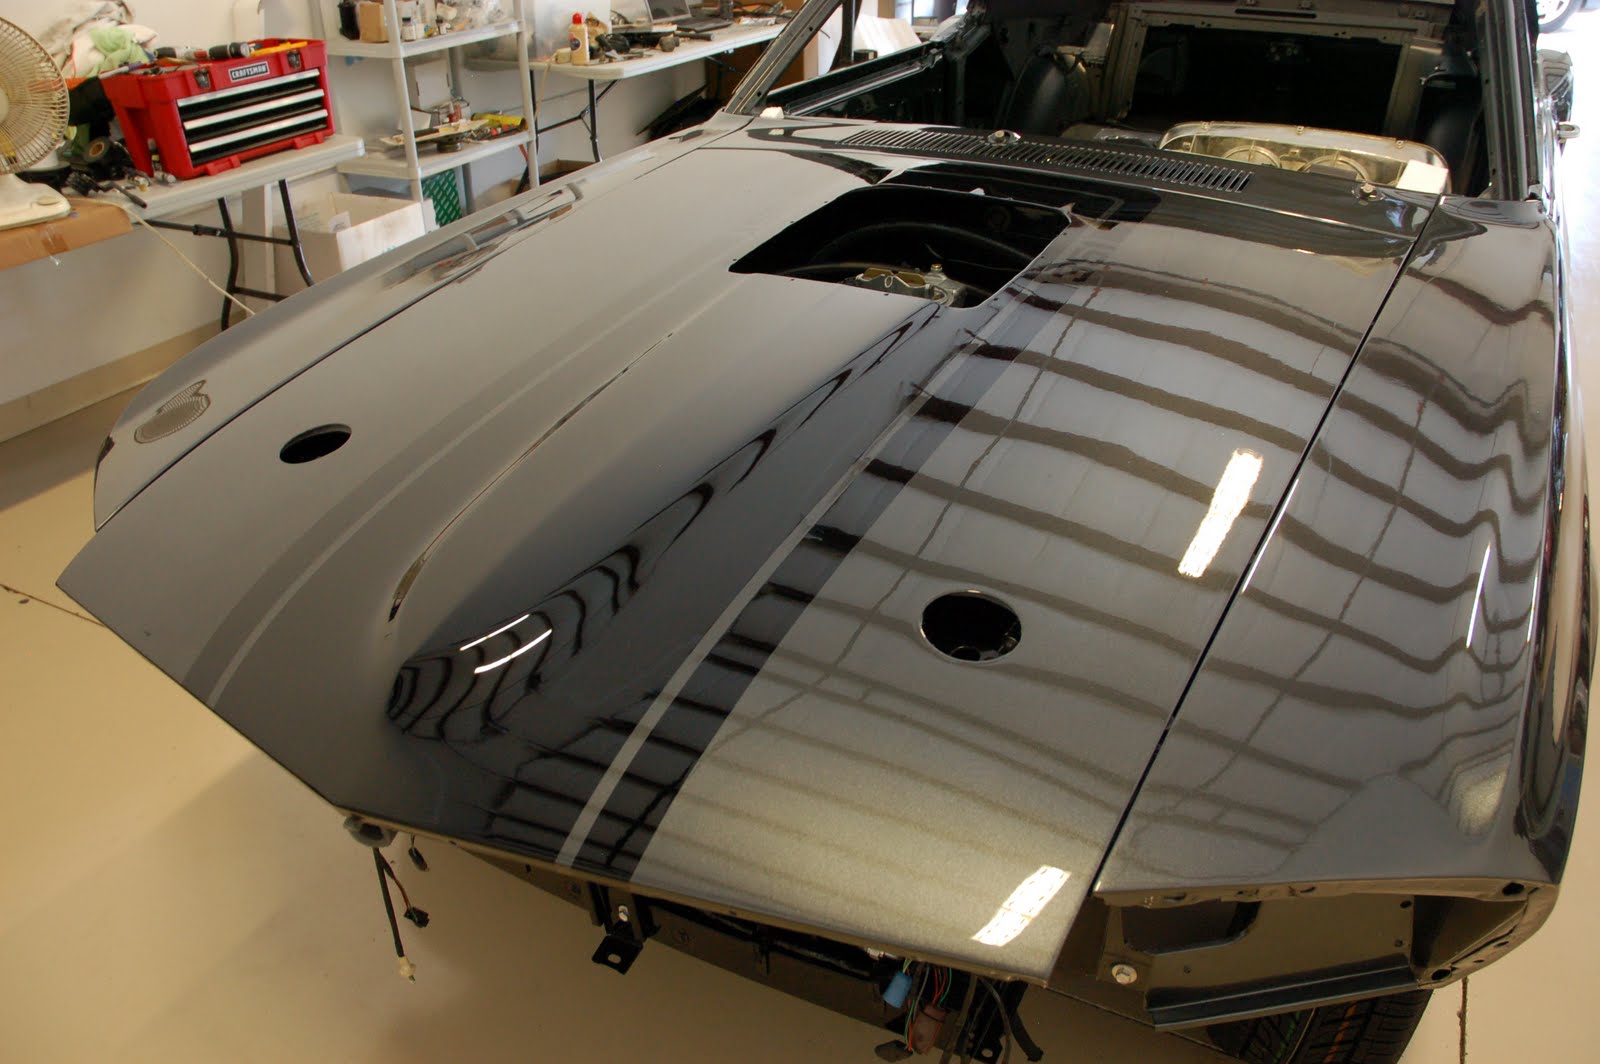
 Installed Front Marker Lights. Lenses are original, bezels (too pitted to salvage) and retainers (rusted to pieces) are new reproductions. Used a little strip-caulk to reduce metal to metal contact between the bezels and the fenders.
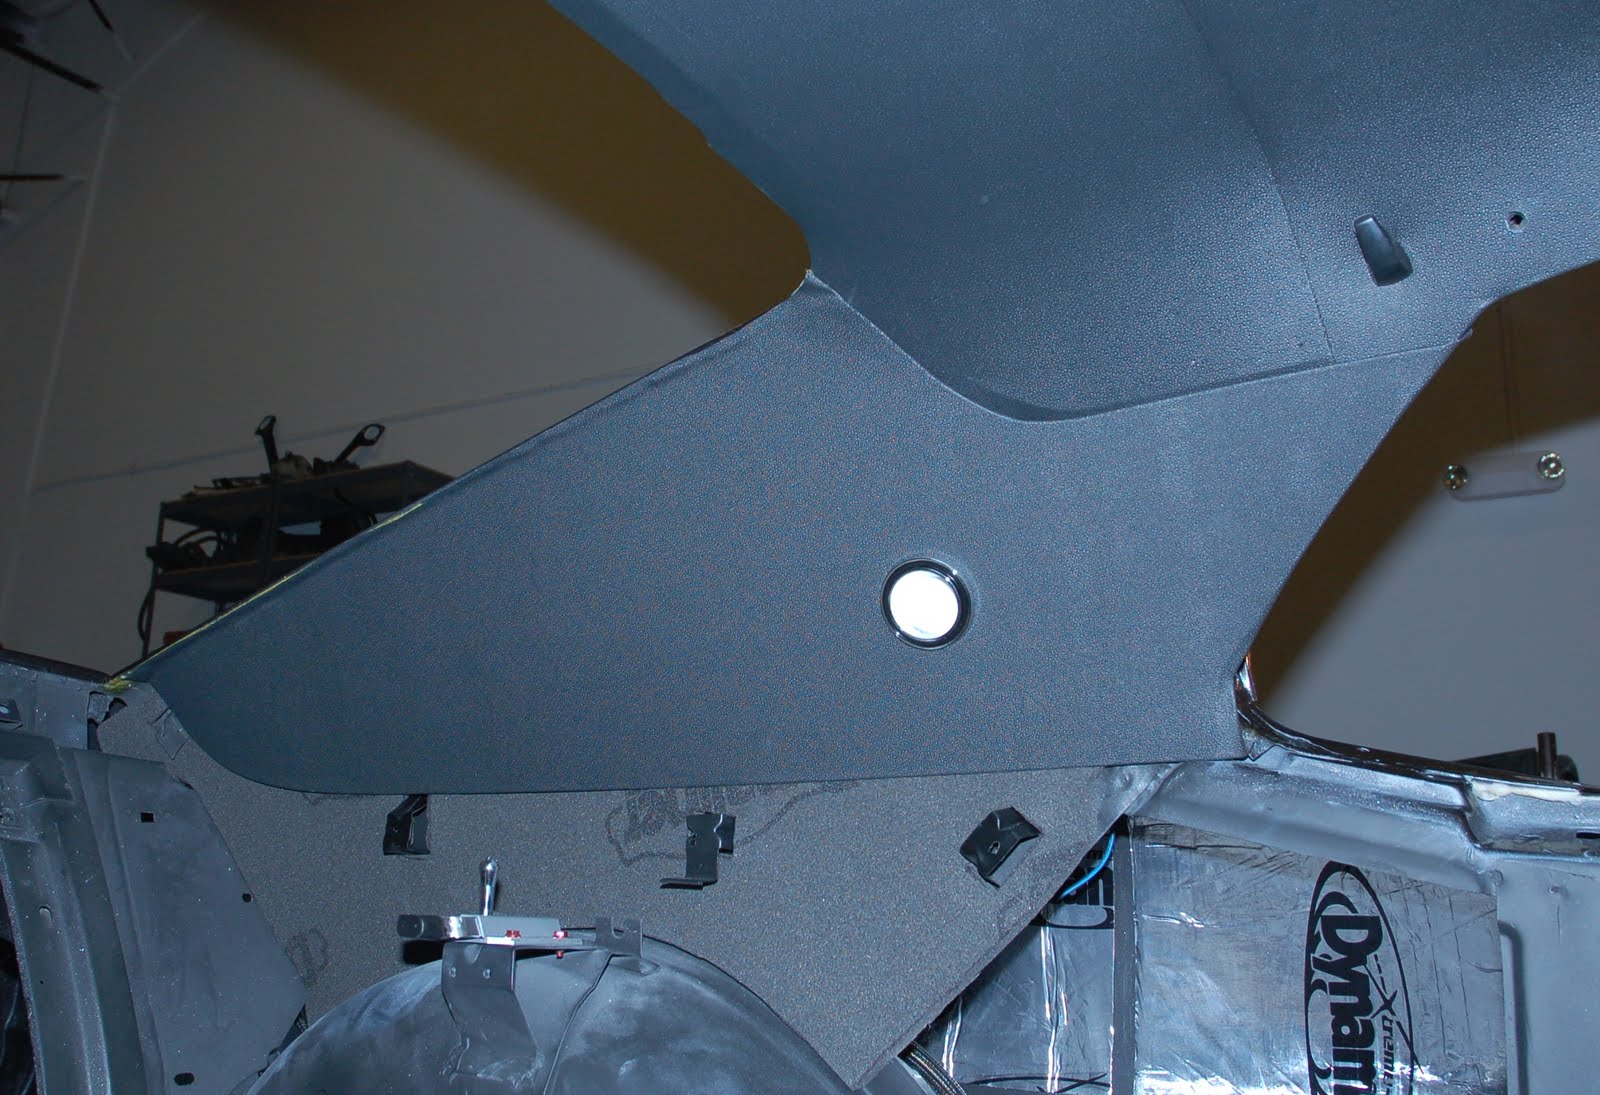


