Finished prepping the engine bay - installed battery hold-down strap and battery wires, caulked around AC and heater hoses, adjusted steering lockout arm, plugged all firewall and body holes and detailed everything.

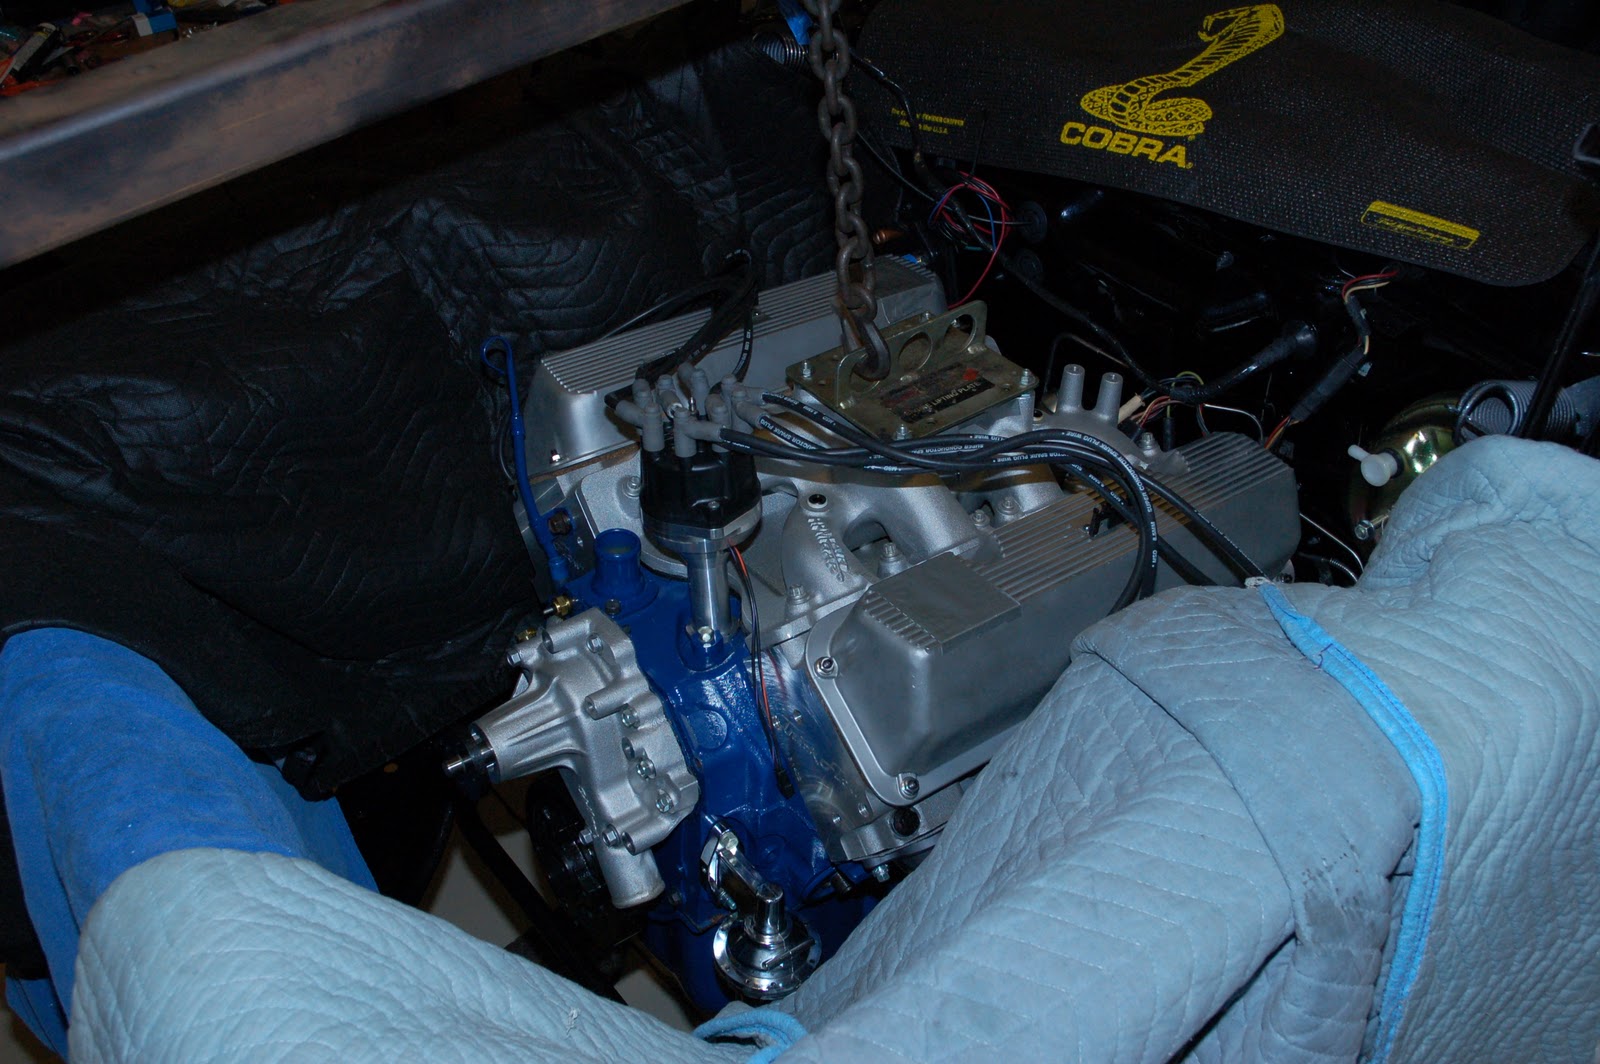
Cleaned up the Cleveland and installed Ron Morris motor mounts. This is the original block - its been updated with the following (back in April '10): bored .030 over, new pistons (KB Hypereutectic 177), roller hydraulic cam (Crane HR-224/339-2S-12), roller lifters (Crane 36532), roller rockers (Comp Cams 1130), stock rods, stock crank, Trick Flow heads, Air Gap intake, Holley 670, aluminum water pump, blue-printed Melling oil pump (not high volume), MSD distributor (8577) - all that good stuff dyno tuned to 445 HP back in May '10.


 Cleaned up the Cleveland and installed Ron Morris motor mounts. This is the original block - its been updated with the following (back in April '10): bored .030 over, new pistons (KB Hypereutectic 177), roller hydraulic cam (Crane HR-224/339-2S-12), roller lifters (Crane 36532), roller rockers (Comp Cams 1130), stock rods, stock crank, Trick Flow heads, Air Gap intake, Holley 670, aluminum water pump, blue-printed Melling oil pump (not high volume), MSD distributor (8577) - all that good stuff dyno tuned to 445 HP back in May '10.


 Installed the wiper transmission. I ordered a couple of pivot shaft seals for a 67-70, they did not fit - not even close.
  Had some cut to fit (from closed cell foam) - note the size difference.