Tuesday, August 9, 2011

Step 61 - Splash Shields

LH Front Splash Shield
RH Front Splash Shield
Installing the splash shields was not an enjoyable mustang experience. The originals were long gone so I did not have a template to compare against. This pair came from MP Products - not sure what other vendors reproduce them. Anyway, be prepared break out the heat gun and scissors - because I had to bend the crap out of both sides and trim a good 3/4 inch off of the LH side. The holes for the wiring clips were way too big - so I glued in a couple of washers to keep the clips in place. Should keep the headlight connectors from getting 'splashed'.

Parts: Reproduction front splash shields from MP Products, bolts from AMK

Thursday, August 4, 2011

Step 60 - Fender Extensions


Installed the LH and RH fender extensions. Both original extensions were in excellent condition and came back from the paint shop looking great.  The original grilles had multiple layers of over-spray and required a little TLC with some Easy Off followed by a fresh coat of trim black.  The original headlight buckets were rusted out - I replaced them with new reproductions.  All hardware from AMK (extension studs, bolts, grille screws, and headlight bucket adjusters).

Parts:  original extensions and grilles, new rubber seals, reproduction headlight buckets, all new hardware

Monday, August 1, 2011

Step 59 - missing Holes

Driver's Side
While pushing ahead with the door wiring harnesses, I noticed that the paint shop forgot to drill the harness holes in both doors - aaargh...  Rather than take the doors off and attack the problem with a hole saw, we elected to use a 2 1/4 inch punch to make the holes in the front of each door.  Worked perfectly with minimum hassle (since the doors remained in place).

Thursday, July 28, 2011

Step 58 - Door Mirrors

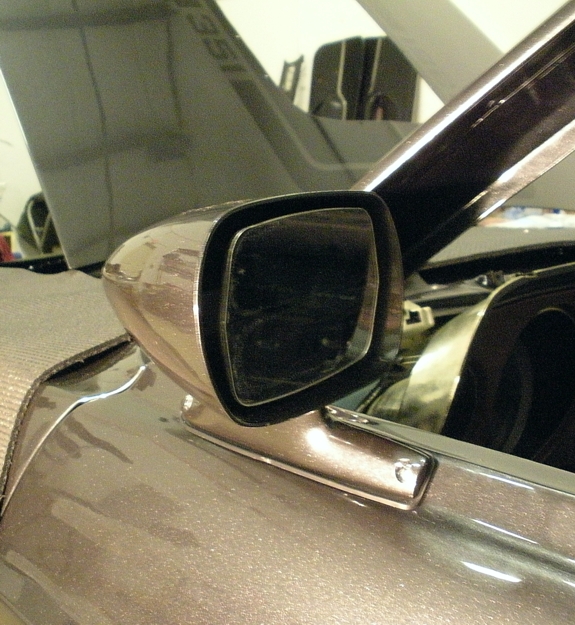
Installed both door mirrors. The original RH mirror was great condition - paint shop did a fine job on it. The original LH mirror's glass was chipped and the remote cable was toast. Replaced the whole thing with a reproduction.  Harbor Freight's $17 rivnut tool did the trick on the threaded inserts.


Parts: Original RH, reproduction LH, rivnut and bolt kit from AMK, gaskets/pads from NPD

Tuesday, July 19, 2011

Step 57 - Door Vents


Resurrected the original door vents.  Fortunately, the rubber flaps were in pretty good shape - but the plastic needed a light coat of paint.  To keep the paint off of the flaps, fill the bottom of the vents with two layers of BBs - works great!


Parts: original vents, stainless screws from Ace

Thursday, July 14, 2011

Step 56 - Coil

Installed a new coil and coil bracket.  All of the usual places to install a coil are all gone - improvised by mounting it on the intake manifold by using a longer front left intake bolt and a 1/2 inch aluminum spacer.

Parts: coil - epoxy filled MSD Blaster (sans garish sticker), bracket - Scott Drake by way of NPD, 12pt flange bolt and spacer from McMaster-Carr


Tuesday, July 12, 2011

Step 55 - Transmission Cooling Lines

AOD + 351C + Aux Cooler == bend some transmission cooling lines because nobody makes a set that actually fits.  Picked up some stainless steel line from McMaster-Carr (5/16 OD). Spent some time practicing on some old steel line to get angles around the starter right.  Annealed the stainless before making a bend and at each stage of flaring.  Buffed off the heat marks (thanks Chris).  Used rubber hoses to attach the lines to the radiator and the output of the cooler.

Tuesday, July 5, 2011

Step 54 - Transmission Cooler

Installed a new B&M Transmission Cooler to help keep the AOD running cool.  Lines run from the transmission to the radiator then from the radiator to the top of the cooler and then back to the transmission.  I tried the next size up (1.5 inches thick vs. .75 inches) but it interfered with the horn - so it's on it's way back to Summit.


Parts:  B&M 9,800 BTU Cooler, custom bent lines (took me a bunch of tries to get them bent just so...)

Sunday, July 3, 2011

Step 53 - Front Marker Lights

Installed Front Marker Lights.  Lenses are original, bezels (too pitted to salvage) and retainers (rusted to pieces) are new reproductions.  Used a little strip-caulk to reduce metal to metal contact between the bezels and the fenders.

Parts: original lenses, reproduction bezels and retainers, bolts from AMK

Tuesday, June 21, 2011

Step 52 - Hosed

Installed new radiator, heater, AC and power steering hoses.

Radiator Hoses:  Upper and lower radiator hoses and clamps from Marti AutoWorks, lower radiator hose spring from NPD and radiator overflow hose from Dead Nuts On Restorations.  Everything fit perfectly - no issues.


Heater Hoses:  Water tube, hoses and clamps all from NPD - the position of  Classic Auto Air's AC/Heater assembly made it necessary to use two hoses with a 90 degree bend at the firewall vs. just one that comes with the kit - yep had to buy two kits - anyone need some heater hose?


Power Steering Hoses:  Borgenson did not test their hoses in a '70 - they do not fit on the pump side.  So I engaged a local hydraulic shop to make a custom set of hoses.  They run along the top of the engine vs. underneath.  Borgenson gave me the okay to return the pair that comes with their steering box.


AC Hoses:  Classic Auto Air's hoses fit pretty good.  We had to shorten the lower condenser hose by about an inch, other than that, no issues.

Thursday, June 16, 2011

Step 51 - Hood


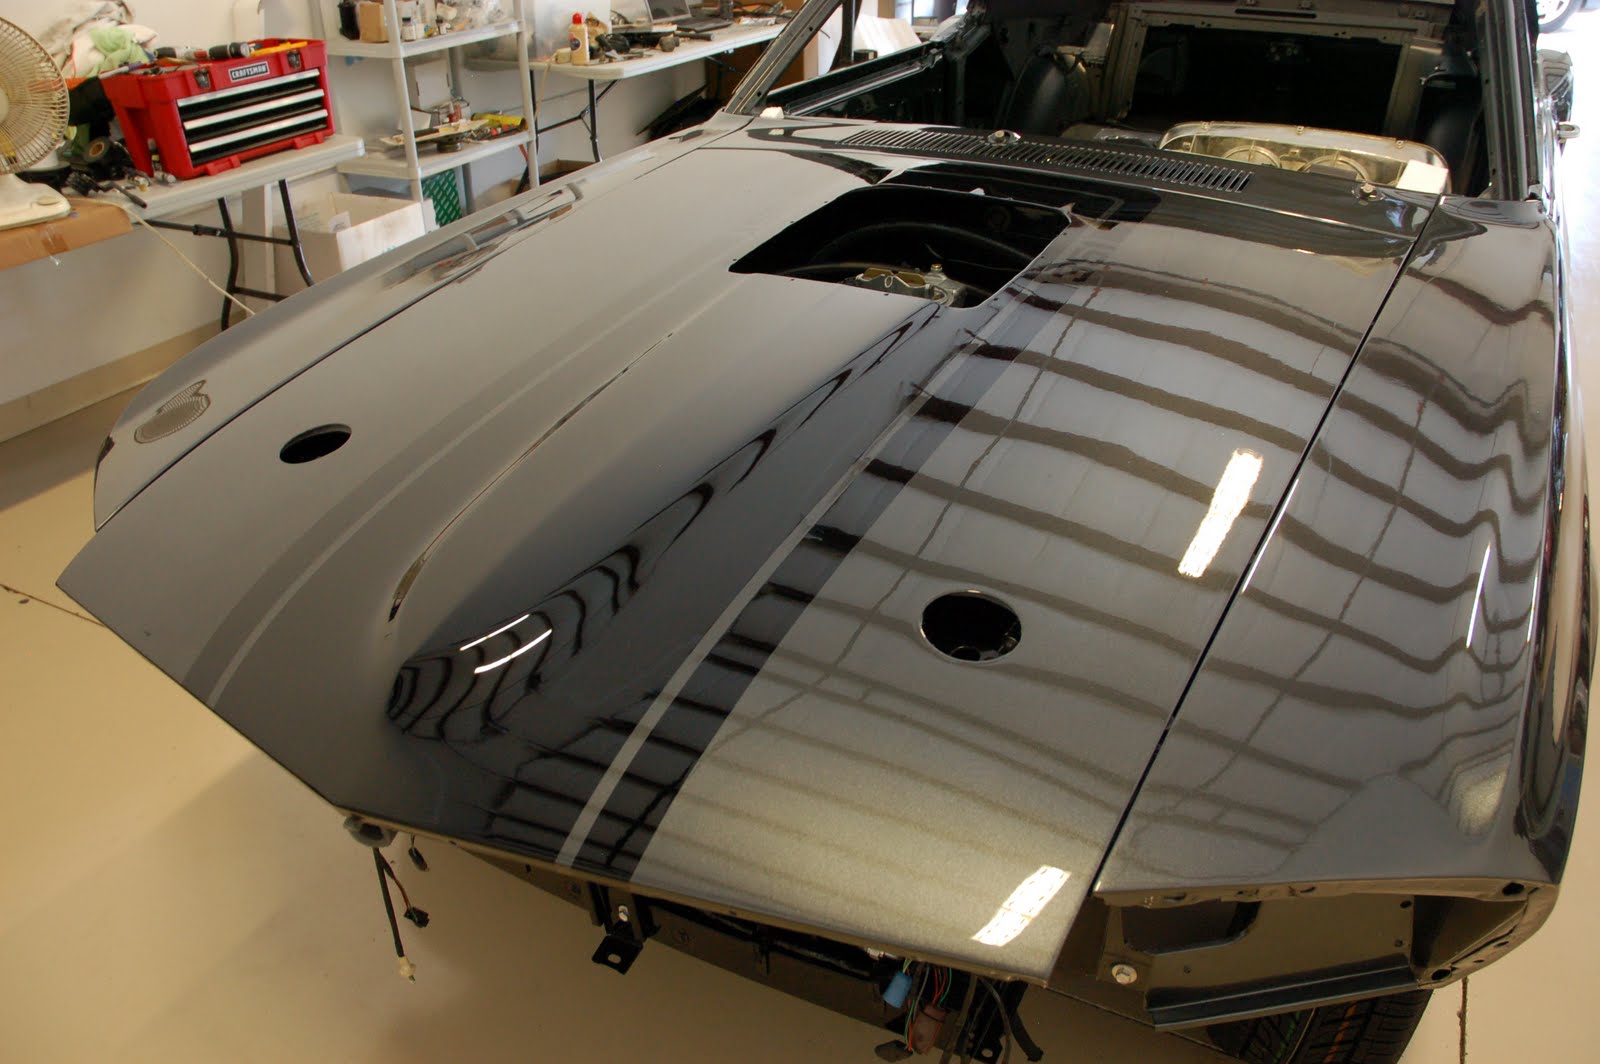
Installed the hood on those freshly refinished hinges.  Required tweaking hinges, fenders, doors, etc...  Cowl positioned for reference only.  Now on to figuring out how to plant the shaker on that Air Gap Intake.
Parts:  original hood, NOS latch, bolts from AMK

Tuesday, June 14, 2011

Step 50 - Unhinged

Normally I don't blog about about what goes into or onto the parts and systems that are going back into the Mach during its reconstruction - but this step had some pretty cool stuff behind it.

Freshly refinished hinge
The original hinges were in good condition with some light rust and a couple of coats of black paint.  I did not want to repaint them, so when I read Jerry Heasley's article in March's Mustang Monthly I decided to try to put the original phosphate and oil finish back on.

I started with some paint remover followed with some time in the media-blaster to remove all rust, paint, primer and grime.  I safety wired the hinges closed (using stainless steel wire) to expose the inside of the spring's coils.
Manganese Phosphating in action
This is the stuff.  I used a turkey fryer with a 30 quart stainless pot.  I had to use 4 gallons of water to fully submerge one hinge.  14 ounces per gallon heated to 200F - the propane burner had it to temperature in about 30 minutes.  Drop the part in for 10 minutes then hose it down with WD-40.  Just follow the included instructions and it works awesome.  Note that you do not have to remix to treat additional parts - after I cooked one hinge - I just dropped in the other one.


Following the three prescribed WD-40 wash downs, the hinges looked great.  In my opinion, there is no way to emulate this finish with paint on a part that is as dimensionally complicated as this.  After everything cooled off, I filtered and stored the leftover solution in plastic containers - who knows what other Steps will require some more backyard chemistry.

Tuesday, June 7, 2011

Step 49 - Radiator and AC Condenser


Before
Installed the Radiator, Fan Shroud, AC Condenser and Hood Latch Support Brace.  All parts are new reproductions - and they all actually fit!  The Mach was not graced with factory AC, so all cooling components had to be updated from the old 20 inch radiator, 5 blade flex fan and missing shroud.  The original support brace was mangled on the bottom, too far gone to restore.


Parts: new radiator, new upper and lower radiator brackets with inserts, new shroud, new support brace, new condenser from Classic Auto Air, nuts and bolts from AMK body kit.

Thursday, May 26, 2011

Step 48 - Door Latches and Striker Plates

Installed Door Latches and Striker Plates. Latches are original, spent some time with the parts washer and they cleaned up great. The original strikers were a different story. I found a set of NOS ones (thanks Roger...again). Driver's side still needed a little tweaking to get the striker's backing plate in the correct position to preserve the doors lines.
Parts: original door latches, NOS strikers, screws from AMK

Tuesday, May 24, 2011

Step 47 - Fan and Clutch

Since the Mach is getting some A/C and I live in Florida - I replaced the original 351C-2V flex fan with a 7 bladed clutch fan from a Cougar (part number: C9WE-C).  Clutch is new.  
Parts:  fan, clutch, bolts from AMK.

Tuesday, May 17, 2011

Step 46 - Carpet

Got the carpet in from Auto Custom Carpets - Wayne did the install - made it look easy. 
I chose to go with ACC's 'Mass Backing' option, which is a thicker backing then their usual 'poly' backing material.

Wednesday, May 11, 2011

Step 45 - Sail Panels

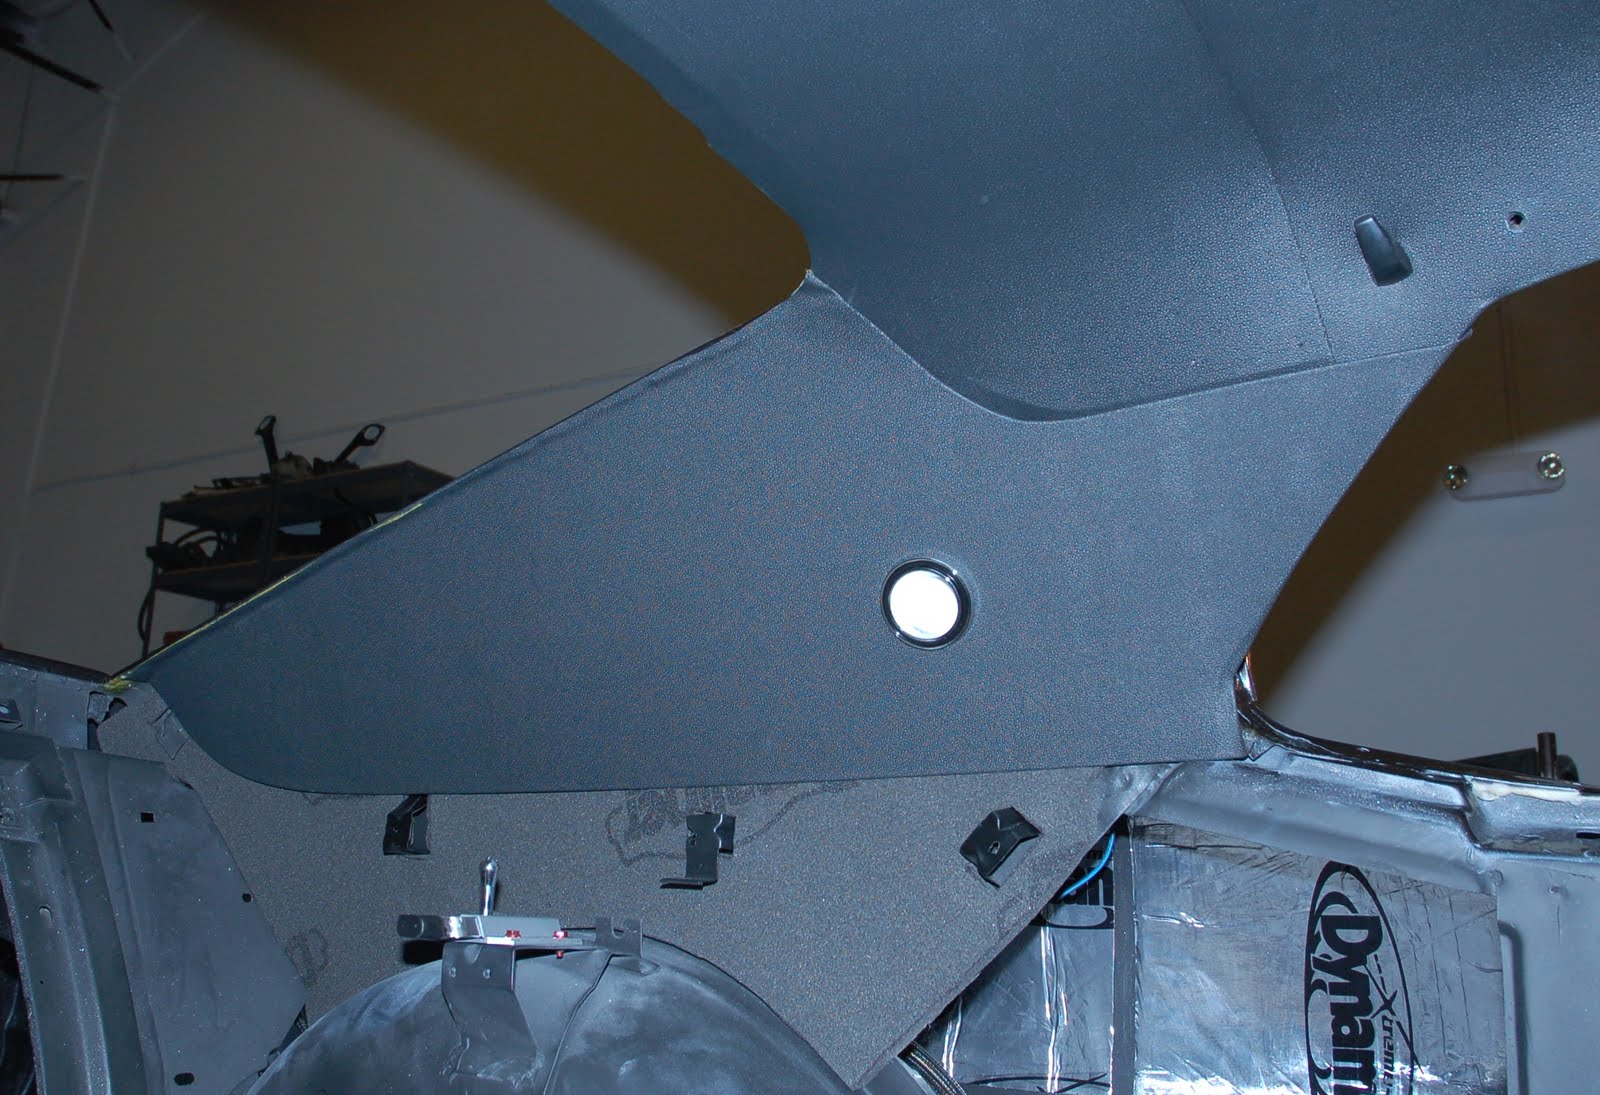
Time to revisit the interior.  The original Sail Panels had suffered water damage during storage - so I purchased some reproductions but they did not line up correctly on the front edge.  So I called in Wayne (he does more than just carpet).  Wayne recreated the original panels with all new materials.  We lined the area behind the panels with some DynaLiner vs. using jute.  Installed some new reproduction lights to finish it off.

Perfect Install

Thursday, May 5, 2011

Step 44 - Fenders

Installed splash shields and fenders.  Both fenders are new reproductions since the originals were beyond repair.  Thanks again to David for some expert panel alignment.  Bolt kits from AMK.

Step 43 - Doors

Hung doors and installed handles.  David (the car-body genius) lined everything up.  These are new reproduction doors from NPD - both doors required some 'adjustment' to the sheet metal during the paint stage to get the panel lines straight.  Handles are new too - the originals were too pitted to use.  Hinge/door bolts from AMK.

Tuesday, May 3, 2011

Step 42 - Accessorize

Installed the Alternator, Power Steering Pump, and A/C Compressor.  I had all of the brackets powder coated.  Everything bolted right up except the A/C compressor bracket - it needed some work.  It did not have enough room on the bottom to clear the power steering pump and the holes did not line up with the bolt holes in the head - grind, grind, grind...  Be aware that the hoses that Borgeson sells for a '70 will not fit a '70 style pump.


Parts:  Brackets - original, Alternator - original (rewound for high current), Power Steering Pump (original - paint from NPD matches the original 1970 color), A/C Compressor (new from Classic Auto Air), all nuts and bolts new from AMK.