Tuesday, March 8, 2011

Step 33 - Trunk Carpet

Driver's side trunk carpet
Passenger side trunk carpet
Carpet detail
Here's what the 'Carpet Wizard' is capable of (he's also called - Wayne - he installed the headliner too). Perfect fit.

Saturday, March 5, 2011

Step 32 - Wiper Transmission

Installed the wiper transmission.  I ordered a couple of pivot shaft seals for a 67-70, they did not fit - not even close.  
Had some cut to fit (from closed cell foam) - note the size difference. 
Parts:  original arms and pivots, custom cut seals, bolts from AMK.

Tuesday, February 22, 2011

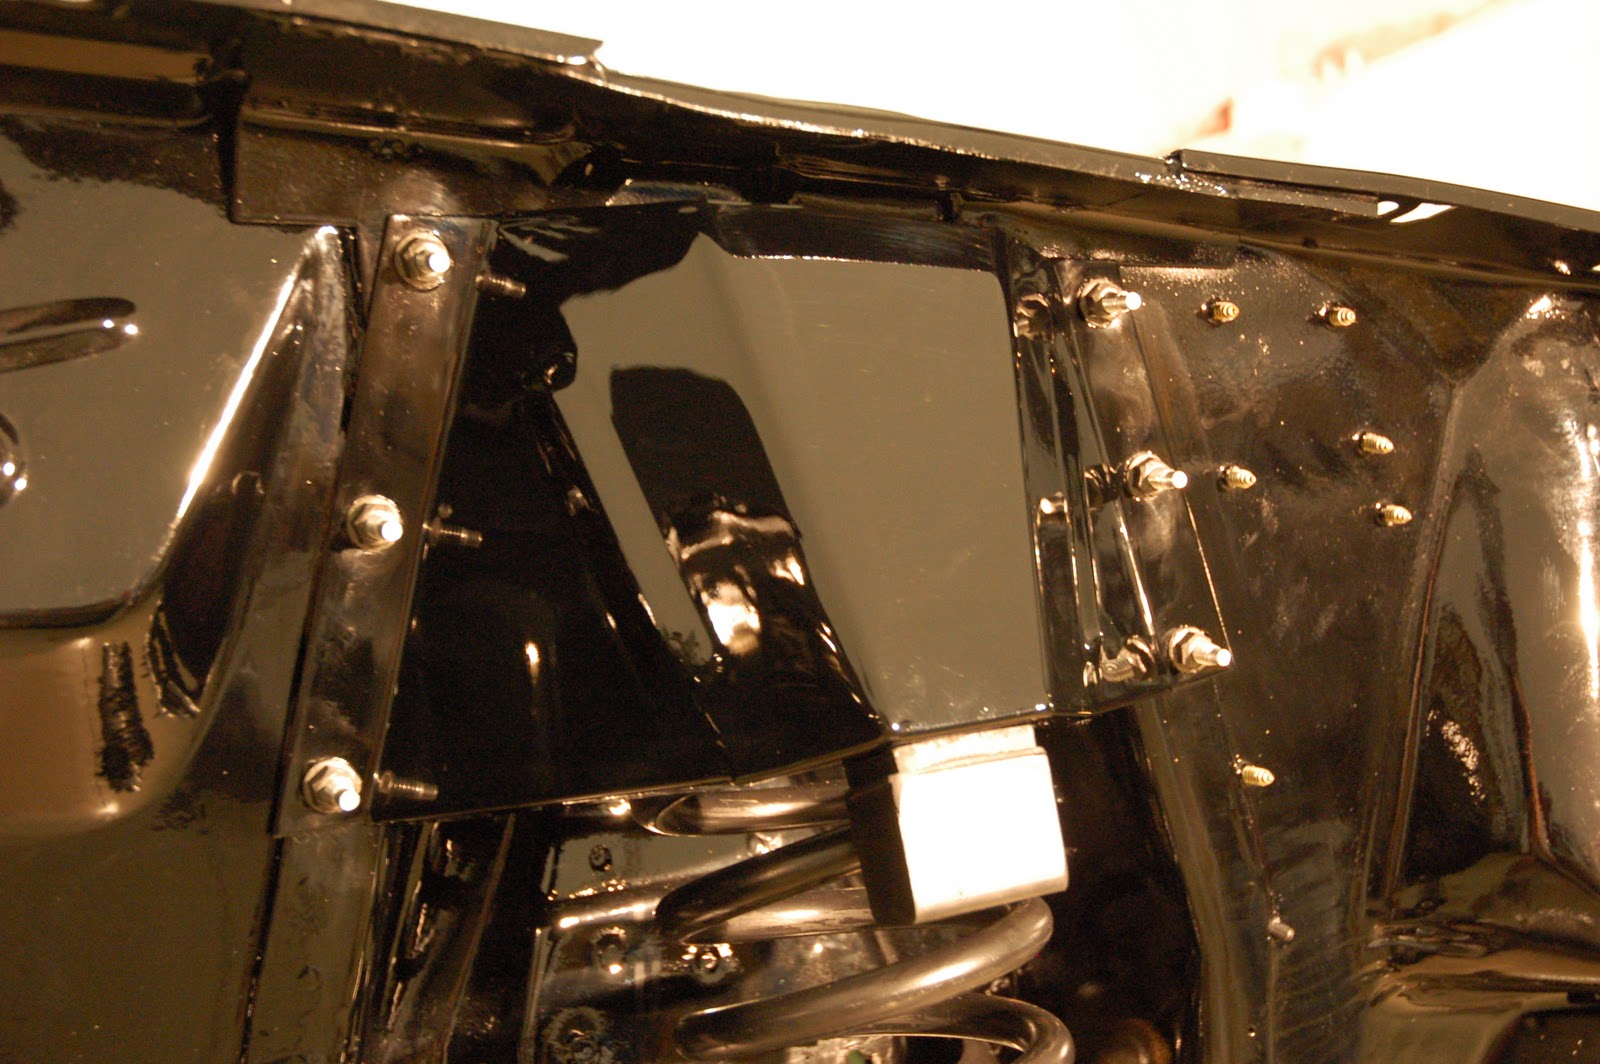
Step 31 - Shock Tower Covers

Installed new shock tower covers (low hanging mustang-reconstruction fruit). 
Parts:  new covers, new bumpers, nuts and bolts from AMK.

Monday, February 21, 2011

Step 30 - Trunk Light


Wired in an original trunk light.  Used the correct clips to secure the Light's wire and added an extra length of Powerbraid for some additional protection.  This Mach1 already had the green trunk light wire in the rear harness.  It was missing the convenience group connector and wiring, so I added a hot wire to the main harness (spliced from the radio's hot wire).
Parts:  Trunk Light via Ebay, Powerbraid and some wire

Saturday, February 19, 2011

Step 29 - Let there be light

Electrical Testing Day.  Installed the battery and battery cables.  Applied power for the first time in 20+ years - with all wiring harnesses plugged in, all bulbs (except headlights) installed and the instrument cluster connected.  Good news - no smoke - bad news - nothing worked when the lights were switched on.  One symptom that stood out was that both turn signal indicators in the instrument cluster were illuminated when the lights were on.  So after checking every wire in the car (not kidding) and looking for a missing ground in all but the most obvious place...the problem turned out to be a missing front bumper.  That's right - in the absence of  the front bumper - don't forget to ground both front turn signals.

Simulated Front Bumper...
Front Lights
Interior Lights
Rear Lights

Tuesday, February 15, 2011

Step 28 - Steering Column


Installed the Steering Column (coupler, firewall gasket, ignition switch, and turn signal switch).  With the Borgenson unit you'll have to 'shorten' the inner shafts by two inches.  Be prepared to spend some time completely dissembling the entire column to get to the steering lock tube.  Then deploy the hammer.
Parts: coupler and gasket are new, all other parts are original

Tuesday, February 8, 2011

Step 27 - Steering Gear


Finished up the power steering conversion installation.  Replaced all of the original power steering components with new manual steering parts.
Parts: 
box from Borgenson, snagged the center link and Pitman arm off of Ebay, all of the other parts I picked up from Opentracker Racing Products ("1970 Make-It-New Steering Rebuild Kit")

Thursday, February 3, 2011

Step 26 - Spoilerized


Installed the rear spoiler.  All original parts with the exception of the gaskets and the hardware (AMK via NPD)

Monday, January 31, 2011

Step 25 - Glove Box


Installed the glove box assembly. All original parts with the exception of the plastic box and the bumpers - had to replace the old non-A/C version for a reproduced A/C version.

Saturday, January 29, 2011

Step 24 - Heater Control and Radio

Back to the interior.  Installed the heater control unit (includes a new blower switch and control cables to connect to the Classic Auto Air system).  Mounted a new Radio (Retrosound Classic) to the original support bracket - took some time (hours) bending, cutting and staring to get everything lined up and centered.  The radio is much smaller than the original unit so accessing the wiring at the rear of the unit won't be a problem.  Once the radio is lined up I finished up by installing the side trim panels and the radio bezel.
Parts:  original heater control unit (new blower switch and cables), Retrosound Classic Radio, original side trim panels, NOS bezel pinched from ebay, screws, bolts, and nut-plates from AMK.

Sunday, January 23, 2011

Step 23 - Battery Tray

Installed new battery tray - the original was rusted scrap.  Nuts and bolts from AMK.

Thursday, January 20, 2011

Step 22 - Branded


The Mach is a Mach 1 again...  Choose to copy the original spacing on the car - more or less (which was not a factory job since the car had been repainted twice).

Step 21 - Rear Sway Bar and Rear Shocks

Installed rear sway bar (original).  Half inch bushings are a pain to find (thanks to Roger Parks for finding me a good set).  Installed a pair of Edelbrock Classic IAS Performer Shocks - boots up.
Parts:  original sway bar and brackets, bushings, new end links, and shocks

Tuesday, January 18, 2011

Step 20 - Rear Bumper


Installed new rear bumper.
Parts:  Bumper from NPD, hardware from AMK, mounts from Laurel, neoprene washers from Dead Nuts On.

Note: not all bumpers are created equal - see image to the right.

Bottom Bumper is the original (rusty with some pitting - but great fit).

Middle Bumper is NPD's made by Golden Legion - (hand selected for me by Mitch in FL - THANKS!) - very close to the original in all aspects.

Top Bumper (and lower right image) is "Auto Power" from Laurel - cracked on top of driver's side, poor finish on all edges, bad fit on passenger side - stuck out like an inch from the side of the car ...rejected.  I contacted Laurel asked for a refund and sent pics.  Since I purchased the bumper back in Feb '10 (along with $2K worth of sheet metal), Laurel decided not to exchange or provide a refund...bummer...so I boxed it up and sent it back to them anyway.
(4/27 updated - Laurel eventually refunded my $99)

So if you buy a bumper make sure you take it out of the box and thoroughly inspect it - especially if you plan on putting it on the shelf for any length of time.

Saturday, January 15, 2011

Step 19 - Prep the Steering Box - an unnecessary step...

I purchased the Power Steering Conversion Box from Borgenson to update the steering - out of the box it was rusted, poorly finished and it showed signs of seeping fluid.


Rusted - right out of the box
I contacted Borgenson and asked if I could send the unit back for replacement - when I told them it was rusted they said 'no'.  When I told them it was seeping fluid they said 'sure'.  So I sent it back to them.  A week or so later, the same rusty box shows up with a note - tested to 2000 PSI - no leaks.

They did explain that the boxes are not new, the boxes are reconditioned using a machine process that apparently does not result in a box that is in the condition of the one presented on their website:  http://www.borgeson.com/xcart/product.php?productid=1511&cat=60&page=1

Thus I am stuck with a rusty box.  I can't deal with rust.  Off to the media blaster for an hour of rust killing.  Followed by some time with the epoxy paint.  Hopefully it works good and lasts a long time....

If you're thinking about picking one of these up, plan on investing a little time cleaning and repainting your "Re-manufactured modern power steering box".

After some glass-bead TLC


Thursday, January 13, 2011

Step 18 - Rear Lights, Trim, Quarter Extensions, and Trunk Lid


Installed honeycomb panel and trim.  Tail lights went in easy as did the rear extensions - just some minor tweaking.  Trunk slid right in too.  Starting to look like a car again.
Parts:  new honeycomb panel, new trim, new light bezels, original lenses and buckets, new gasket, LED tail lights (PCB type), new hardware (AMK - original trim nuts and clips were in bad way - AMK1196 saved the day)

Sunday, January 9, 2011

Step 17 - Solenoid and Regulator

Installed new starter solenoid and voltage regulator.  Swapped out the guts of an original style regulator with a modern solid-state unit.

Step 16 - Parking Brake and Dimmer Switch


Installed Parking Brake, Brake Cable, and Dimmer Switch.  Had to replace the original cable assembly and pedal pad - everything else is original.  NOTE:  don't try to push the cable up from underneath - push it down through the floorboard.

Tuesday, January 4, 2011

Saturday, January 1, 2011

Step 14 - Main Harness


Installed new front wiring harness (original was too far gone...)  Had to swap out main connector and do some minor repairs on the fuse box.  AMK wiring clip kit came in handy for routing all of the wires on the firewall and radiator supports.